vscode在线版code-server代码编辑器部署、安装、安全防护全过程
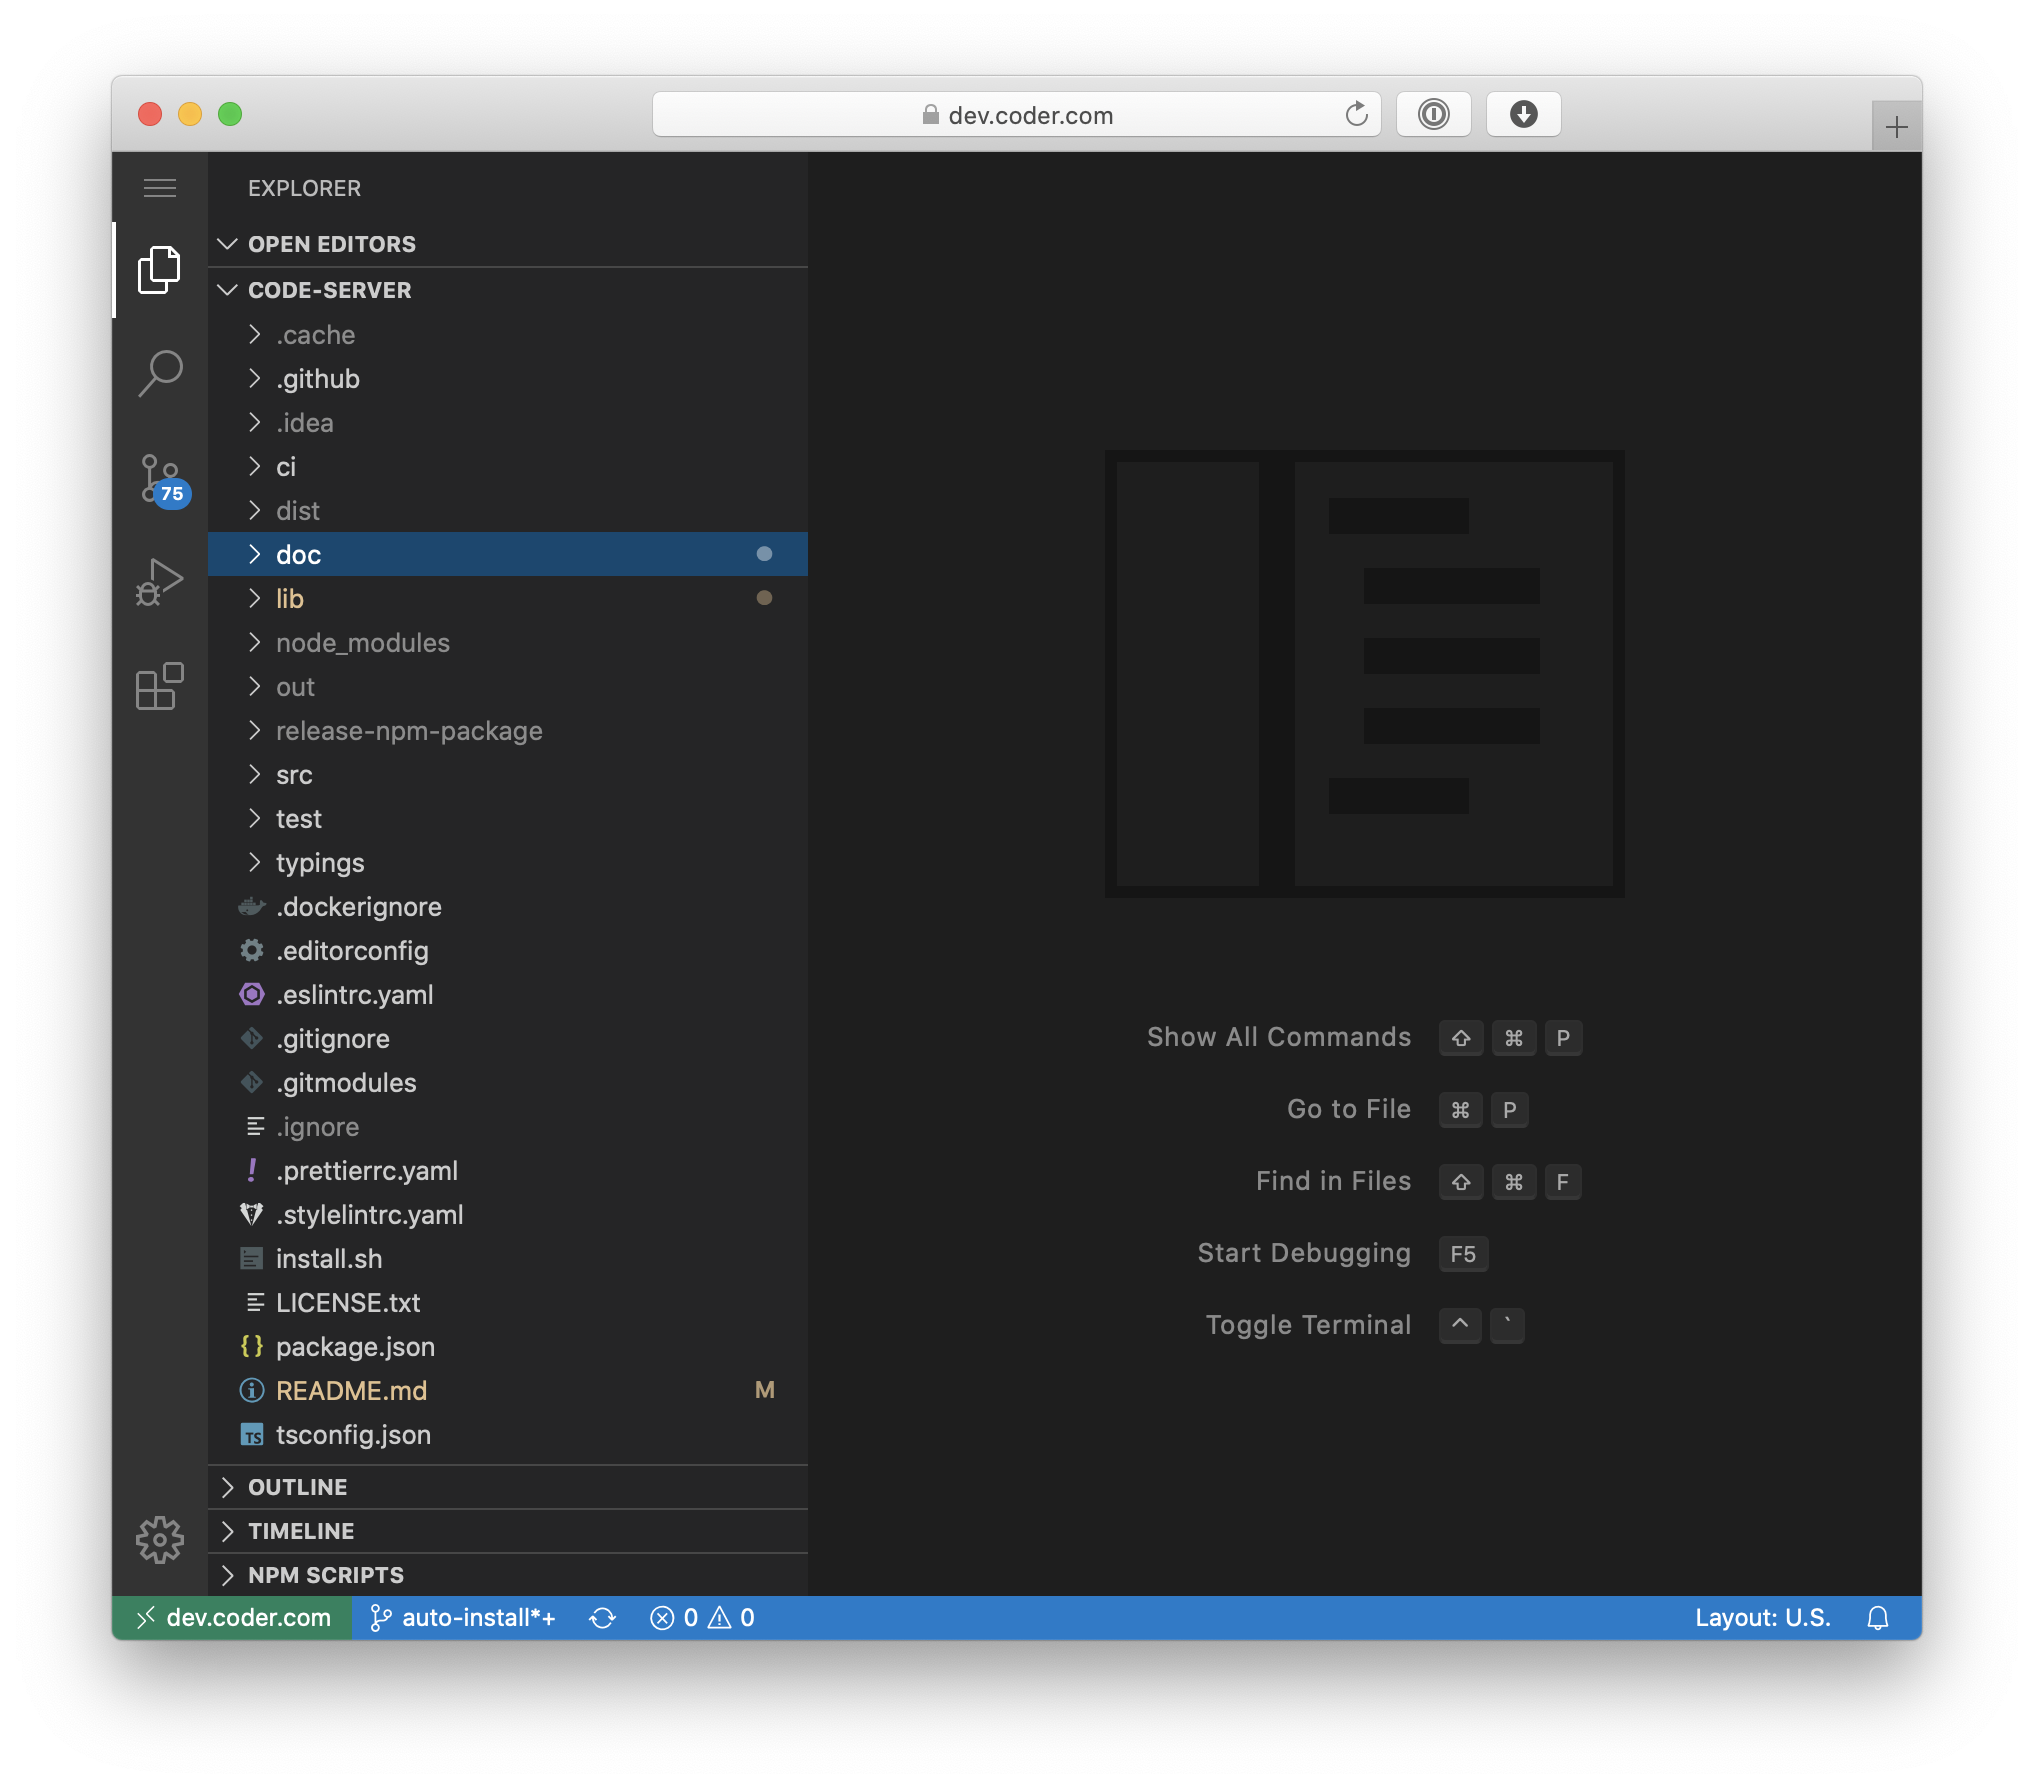
网页版 vscode —— code-server
vscode 是我非常喜欢的桌面编辑器,基于 electron 也更是非常方便其部署在网页端。
目前很多大中型公司都在上线、在线代码冲突解决 conflicts resolve 等用到了在线版 vscode ide —— 也就是 code-server。
安装在线网页版vscode 有量大好处:
1. 可以远程在线开发,随时随地debug;
对于个人开发者来讲,相当于有了一个远程开发主机
2. 方便在线调试代码,解决冲突等;
前面已经提到了,很多大中型公司已经在用了,效果非常好,也比较受欢迎。

截止当前,code-server 已获得 6.25万个start,有超过千万次的拉取,如果你还不知道它,那确实是孤陋寡闻了。

安装
官网下载
官网地址:https://coder.com/
github 下载
官网已经将release 托管到了github,因此我们可以从github.com 下载;
下载地址:https://github.com/coder/coder/releases
贴一下近期的 release:
- coder_2.3.0_checksums.txt 1.85 KB 2023-10-11T16:12:40Z
- coder_2.3.0_checksums.txt.asc 833 Bytes 2023-10-11T16:12:40Z
- coder_2.3.0_darwin_amd64.zip 85.7 MB 2023-10-11T16:12:40Z
- coder_2.3.0_darwin_arm64.zip 84.4 MB 2023-10-11T16:12:40Z
- coder_2.3.0_linux_amd64.apk 86.2 MB 2023-10-11T16:12:40Z
- coder_2.3.0_linux_amd64.deb 86.1 MB 2023-10-11T16:12:40Z
- coder_2.3.0_linux_amd64.rpm 86.2 MB 2023-10-11T16:12:40Z
- coder_2.3.0_linux_amd64.tar.gz 84 MB 2023-10-11T16:12:46Z
- coder_2.3.0_linux_arm64.apk 84.1 MB 2023-10-11T16:12:46Z
- coder_2.3.0_linux_arm64.deb 84 MB 2023-10-11T16:12:46Z
- Source code (zip) 2023-10-11T16:06:20Z
- Source code (tar.gz) 2023-10-11T16:06:20Z
安装
假设在 ubuntu 系统下以 userabc 用户身份安装:
下载完成后:
$ sudo apt apt install ./coder_2.3.0_linux_amd64.deb.deb修改配置文件
$ vim ~/.config/code-server/config.yaml配置文件内容为
bind-addr: 127.0.0.1:3333
auth: password
password: baihezi.com
这个配置文件的意思是只允许 localhost 访问 3333 端口时才能使用在线的vscode ide,并且密码是 baihezi.com 。
如果想允许任意主机访问,则把 127.0.0.1 改成 0.0.0.0 即可。
不需要密码直接访问
把配置文件中 auth: password 改为 auth: none 即可;
运行和使用
命令行启动:
$ code-server & (一般安装完成后,code-server 已经在运行了,不一定需要执行这个命令)
或者执行
(注意:把userabc 改成你自己的用户名)
$ sudo systemctl start code-server@userabc开机自启动
(注意:把userabc 改成你自己的用户名)
$ sudo systemctl enable code-server@userabc取消开机自启动
(注意:把userabc 改成你自己的用户名)
$ sudo systemctl disable code-server@userabc关闭进程
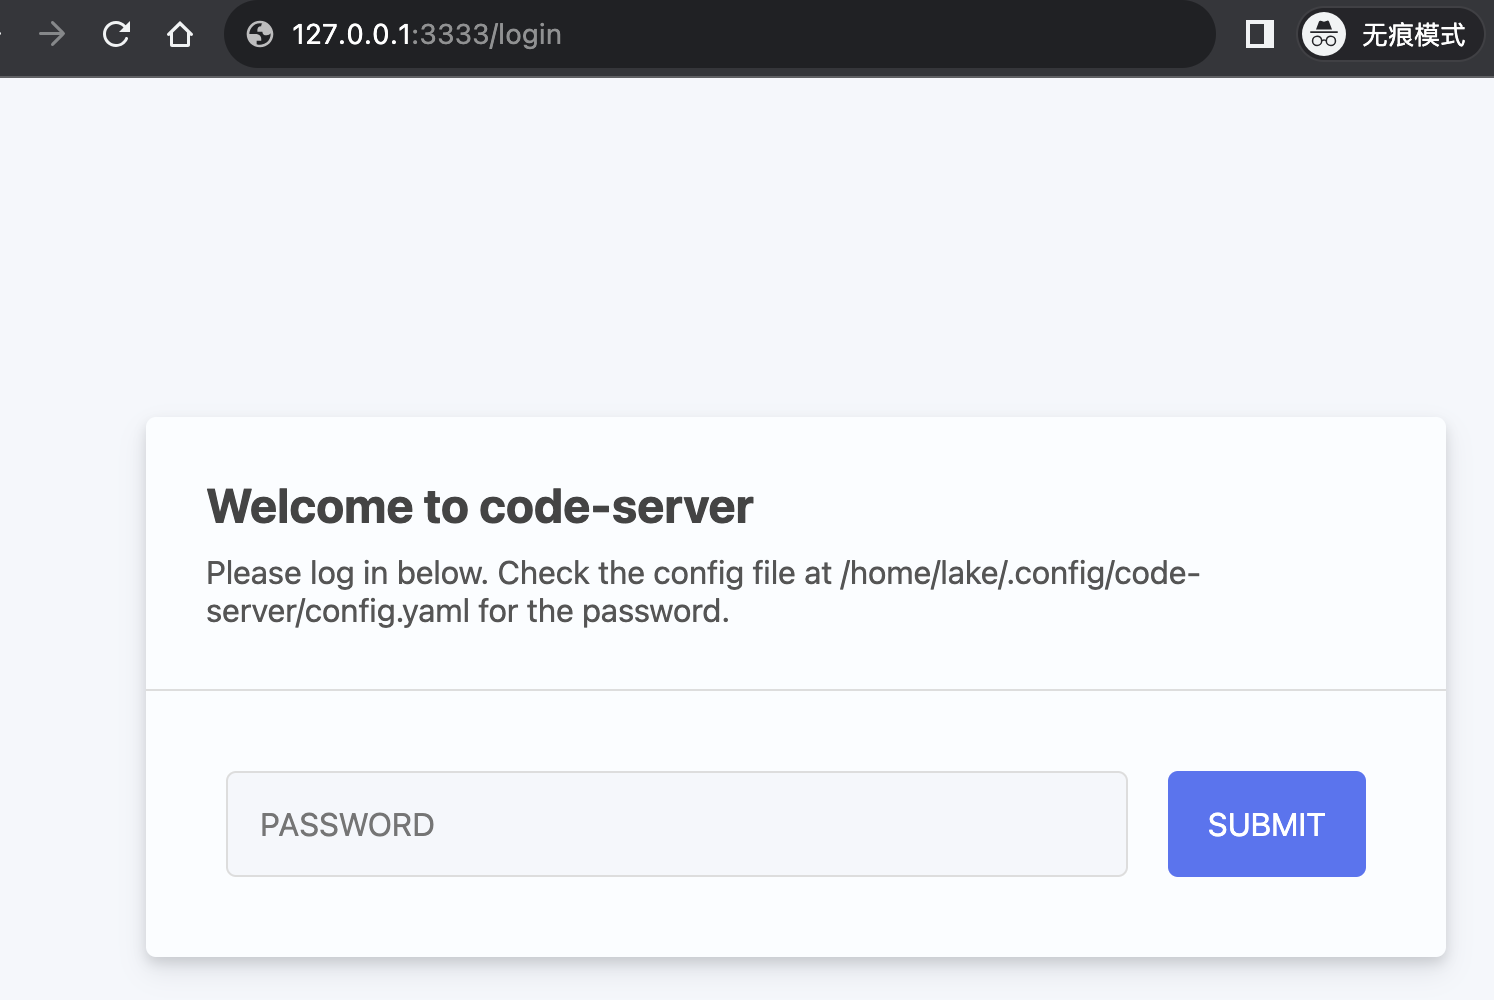
$ systemctl --user stop code-server然后再在浏览器输入网址 http://127.0.0.1:3333
即可打开:

配置远程访问的方式
然而我们很多时候,都不是在 localhost 上使用,都需要远程访问在线ide,这里有两种方法:
- 把 127.0.0.1 改成 0.0.0.0 即可允许远程访问;
- 不改变code-server 配置,而是使用nginx 反向代理 127.0.0.0:3333 端口,用nginx 来加一层比如 basic auth 的防护等,避免code-server 直接被公网访问到。当然,也更方便配置 SSL 证书等。
如果是在内网使用,推荐使用方式1 即可,如果你的在线ide 可能暴露到公网,这里强烈推荐使用上面的方式2——nginx 反向代理方式;
直接开通code-server 远程访问权限
修改配置文件
$ vim ~/.config/code-server/config.yaml配置文件内容为
bind-addr: 0.0.0.0:3333
auth: password
password: baihezi.com
这种方式仅使用于内网可信任用户,而且要注意代码权限配置等。
配置防火墙放过 3333 端口
这里不再赘述。
通过 nginx 反向代理实现远程访问
auth-basic 文件配置
在下方的nginx配置文件中,会涉及到 auth_basic_user_file 配置,为了防止网上大规模的爬虫和僵尸网络扫描端口,因此我们给暴露到公网的在线ide 加一层 basic auth。
htpasswd -c -d /www/server/nginx/conf/auth_basic/code.example.com userabc
# 会提示输入密码,连续输入2次即可
查看密码:
$ cat /www/server/nginx/conf/auth_basic/code.example.com
userabc:aRR7B12lK021w
更新密码:
$ htpasswd -b /www/server/nginx/conf/auth_basic/code.example.com userabc password删除用户认证:
$ htpasswd -D /www/server/nginx/conf/auth_basic/code.example.com userabc至此,会在 /www/server/nginx/conf/auth_basic/code.example.com 文件创建用户 userabc 的账号和密码,然后在下方 nginx conf 中引用即可。
nginx 反向代理配置
注意:把 code.example.com 换成你自己的域名即可:
server {
    listen 80;
    listen [::]:80;
    #如果需要配置 ssl,请开启以下配置
    #listen 443 ssl http2;
    #请填写证书文件的相对路径或绝对路径
    #ssl_certificate /path/to/certificate.crt;
    #请填写私钥文件的相对路径或绝对路径
    #ssl_certificate_key /path/to/private.key;

    server_name code.example.com;
    index index.php index.html index.htm default.php default.htm default.html;
    root /www/wwwroot/code.example.com;

    auth_basic "auth";
    auth_basic_user_file /www/server/nginx/conf/auth_basic/code.example.com;

    location / {
        proxy_pass  http://localhost:9001/;
        proxy_set_header Host $http_host;
        proxy_http_version 1.1;
        proxy_redirect     off;
        proxy_set_header   Host             $host;
        proxy_set_header   X-Real-IP        $remote_addr;
        proxy_set_header   X-Forwarded-For  $proxy_add_x_forwarded_for;
        proxy_set_header   Upgrade          $http_upgrade;
        proxy_set_header   Connection       upgrade;
        proxy_set_header Accept-Encoding gzip;
        proxy_next_upstream error timeout invalid_header http_500 http_502 http_503 http_504;
        proxy_max_temp_file_size   0;
        proxy_connect_timeout      60;     #nginx与upstream server的连接超时时间(单位:s)
        proxy_send_timeout         90;     #nginx发送数据至 upstream server超时, 默认60s, 如果连续的60s内没有发送1个字节, 连接关闭
        proxy_read_timeout         90;    #nginx接收 upstream server数据超时, 默认60s, 如果连续的60s内没有收到1个字节, 连接关闭
        proxy_buffer_size          4k;       #代理请求缓存区_这个缓存区间会保存用户的头信息以供Nginx进行规则处理_一般只要能保存下头信息即可
        proxy_buffers              4 32k;    #同上 告诉Nginx保存单个用的几个Buffer最大用多大空间
        proxy_busy_buffers_size    64k;      #如果系统很忙的时候可以申请更大的proxy_buffers 官方推荐*2
        proxy_temp_file_write_size 64k;   #proxy缓存临时文件的大小
        #proxy_temp_path  /usr/local/nginx/temp; #用于指定本地目录来缓冲较大的代理请求
    }
}
这里尤其注意,因为 code update 的过程,会涉及到一直需要websocket 长连接,因此上面的nginx 配置中包含长连接的部分。
如果启动后提示: The workbench failed to connect to the server (Error: WebSocket close with status code 1006) , 请检查相关的这几行配置是否正确:
proxy_set_header Upgrade $http_upgrade;
proxy_set_header Connection upgrade;
proxy_set_header Accept-Encoding gzip;
也可以参考官方教程中的: https://github.com/coder/code-server/blob/main/docs/guide.md#using-lets-encrypt-with-nginx
nginx 重启加载配置
$ /usr/local/nginx/sbin/nginx -s reload 如果你的nginx 不是在 /usr/local/nginx 目录下安装,请自行替换为相应目录。
远程登录使用(非localhost 本地)
输入对应的网址 code.example.com 后(请换成你自己的网址:)
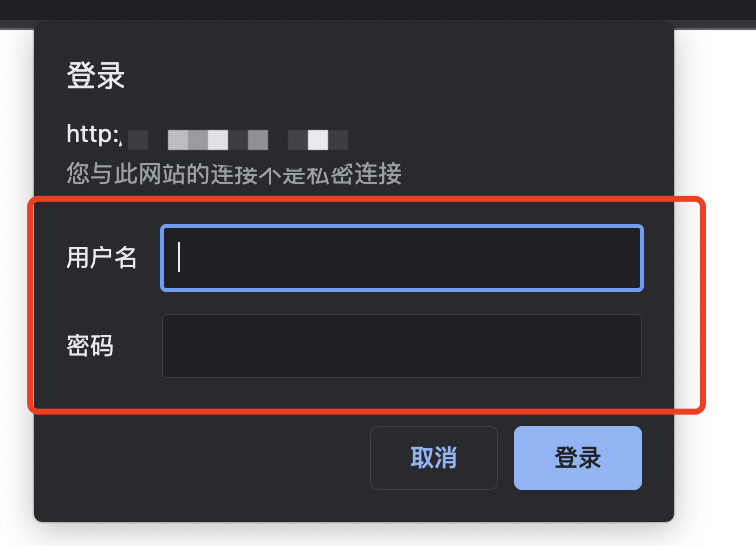
会首先跳出来 http basic-auth:

然后,输入前面 userabc 对应的userabc 账号和密码,接下来即可正常使用在线的ide。
设置成无需密码直接访问在线 ide
则在上方的nginx 配置中,
-
去除 http basic 权限校验:
即去掉nginx conf 中的 以下两行:auth_basic "auth"; auth_basic_user_file /www/server/nginx/conf/auth_basic/code.example.com; -
修改code-server配置文件
$ vim ~/.config/code-server/config.yaml配置文件内容为以下把内容即可:
bind-addr: 127.0.0.1:3333
auth: none
password: baihezi.com
参考资料:
- 搭建code-server云开发环境
https://blog.csdn.net/weixin_39759247/article/details/131750296 - Nginx配置Basic_Auth登录认证 https://www.cnblogs.com/beatle-go/p/17436827.html
- The workbench failed to connect to the server (Error: WebSocket close with status code 1006) https://github.com/coder/code-server/issues/4443
- ubuntu 20.04 code-server 安装https://zhuanlan.zhihu.com/p/497224440
- How to exit from code-server #1257
https://github.com/coder/code-server/issues/1257


